
Flock Fibrecrafts
Penguin Instructions
Penguin Instructions
Couldn't load pickup availability
Needle Felted Penguin Instructions
1. Make the body
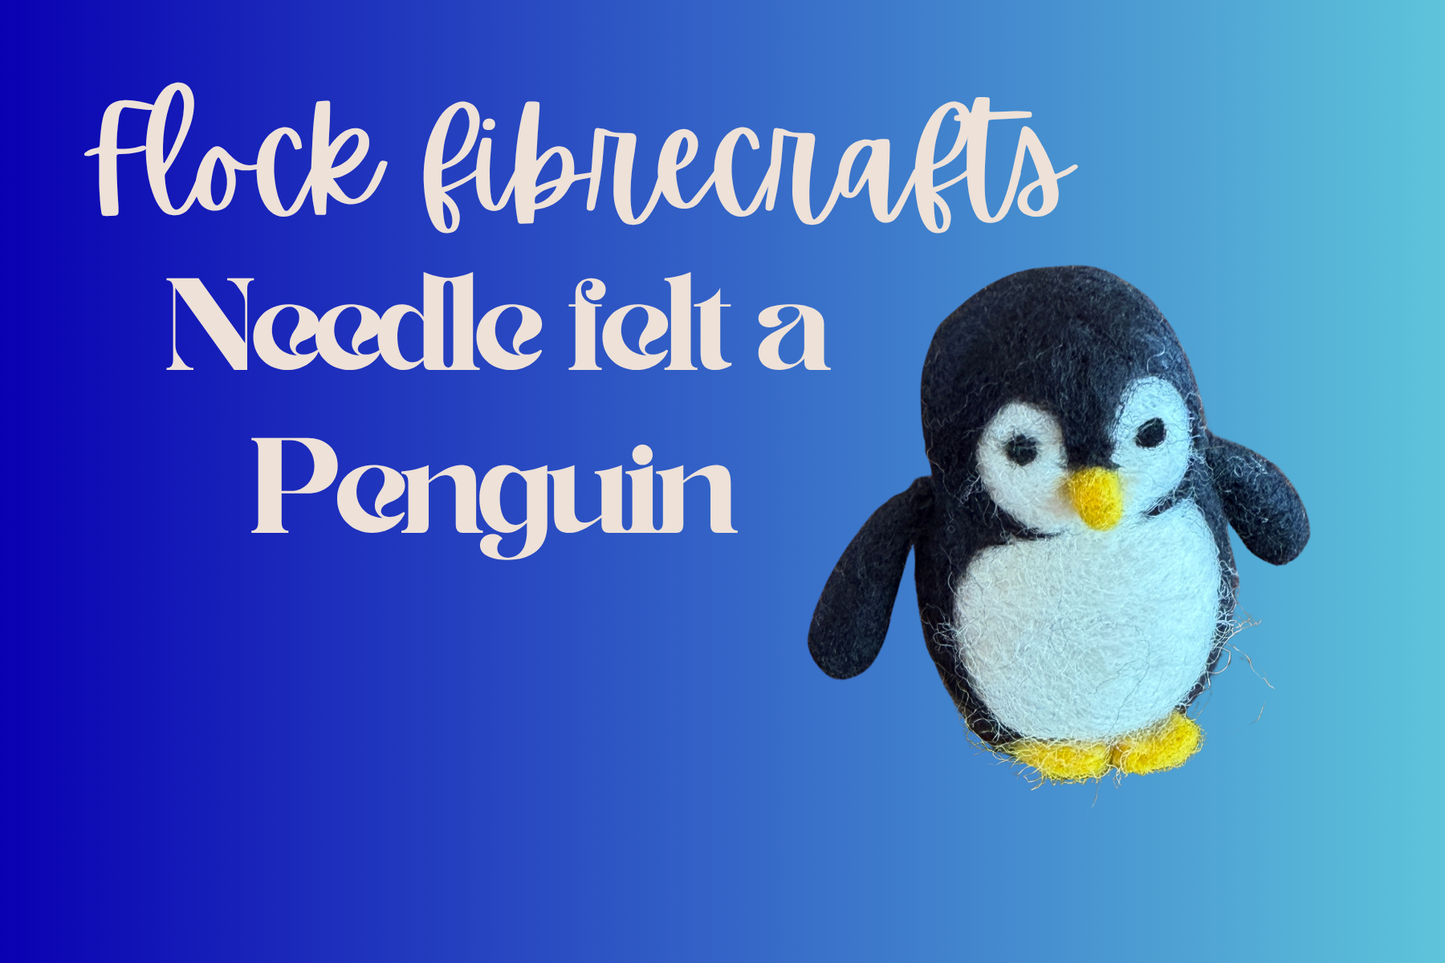
Take a large handful of white wool and roll it in your hands to form a rough egg shape. Place it on your felting mat and repeatedly stab it with your felting needle. Turn the wool as you work so the fibres condense evenly. Keep felting until the body is firm and holds its shape. Use the sticker on the pack as a guide for the finished shape.
2. Add the black markings
Take a piece of black wool and lay it over the top part of the white body. Use your needle to firmly felt the black wool into place. Work around the edges to blend them neatly into the white wool. The black should cover the back and wrap partly around the sides of the head, while leaving the front lower section white for the belly.
3. Shape the face and belly
Use small amounts of black wool to define the face and keep the belly area white. Add and felt the black wool carefully until you are happy with the shape.
For the eyes, take two tiny wisps of black wool, roll them into very small balls, and place them on the face. Gently felt them down until they are flat and secure.
4. Make the beak
Take a tiny amount of yellow wool and roll it into a small cone shape. Felt it until firm, but leave a few loose fibres at one end so it can be attached easily. Place the beak on the face and felt it into position.
5. Make the feet
Take two small pieces of yellow wool and flatten them into little paddle shapes on your mat. Leave a few loose fibres at the narrow end of each foot. Attach the loose fibres to the bottom of the penguin’s body and felt them into place.
6. Make the flippers
Take two equal pinches of black wool and shape them into cones, leaving a few loose fibres at the narrow end of each one. Felt the flippers until firm, then attach them to each side of the body.
Final touches
Check that all the pieces are firmly attached and make any small adjustments to the shape. Add extra felting where needed to tidy the surface and sharpen the features.
Share